Install Ubuntu Version 22.04
To install Ubuntu 22.04, download the ISO, create a bootable USB (using tools like rufus or etcher), boot your computer from the USB (adjusting bios/uefi settings if needed), and follow the on-screen wizard to select language, keyboard, installation type (entire disk or custom), timezone, and create a user account, then restart and remove the USB to boot into your new system.
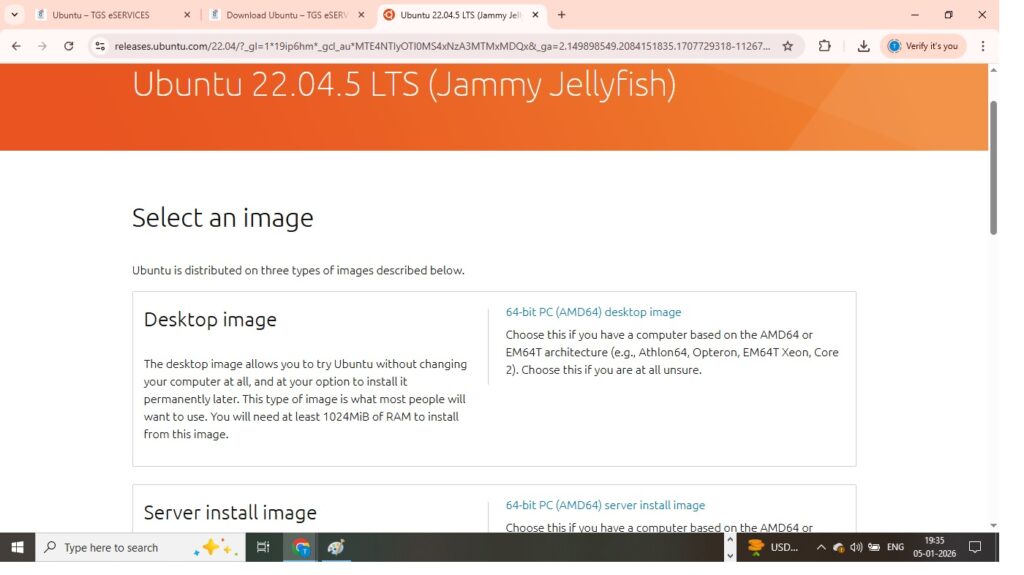
Step 1: Download Ubuntu 22.04 LTS
- Go to the official Ubuntu Releases page and download the 64-bit ISO file for Ubuntu 22.04 LTS.
Step 2: Create a Bootable USB Drive
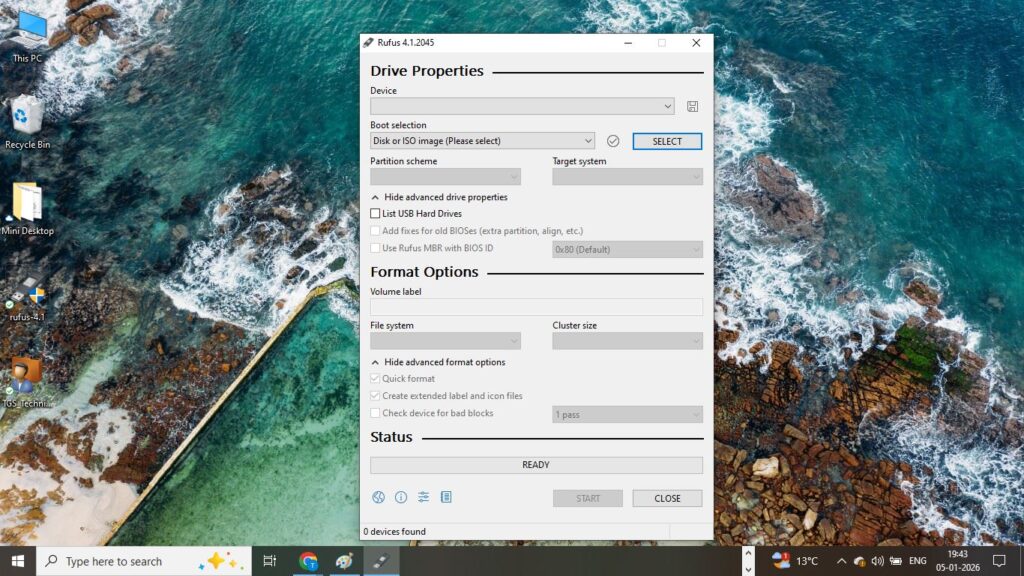
- Get a Tool: Download and install a USB flashing tool like Rufus for Windows or balenaEtcher for Windows, macOS, Linux.
- Flash the ISO: Insert a USB drive (8GB+ recommended). Open the tool, select your downloaded Ubuntu ISO file, choose the USB drive, and click “Start” or “Flash” to write the image. This will erase the USB drive, so back up any data!.
Step 3: Boot from the USB
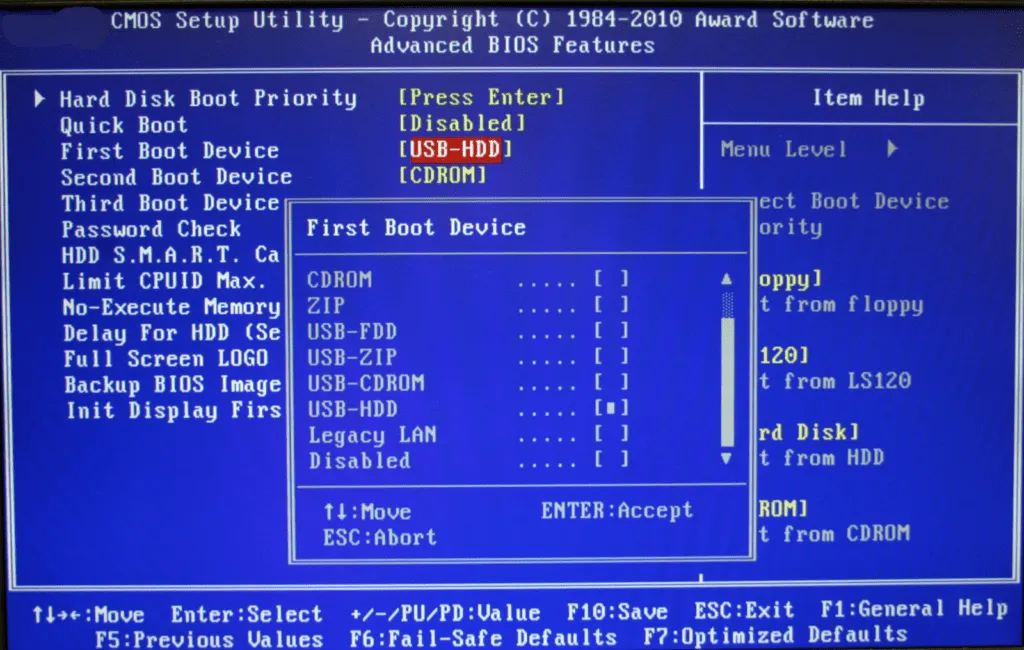
- Restart Computer: Insert the USB into the target computer and restart it.
- Enter Boot Menu: Press a specific key (e.g., F12, F1, F2, Del, Esc) during startup to access the boot menu (check your PC’s manual if unsure).
- Select USB: Choose your USB drive from the boot menu to start the Ubuntu installer.
Step 4: Install Ubuntu
- Welcome Screen: Select “Install Ubuntu” (or “Try Ubuntu” first if you want to test it).
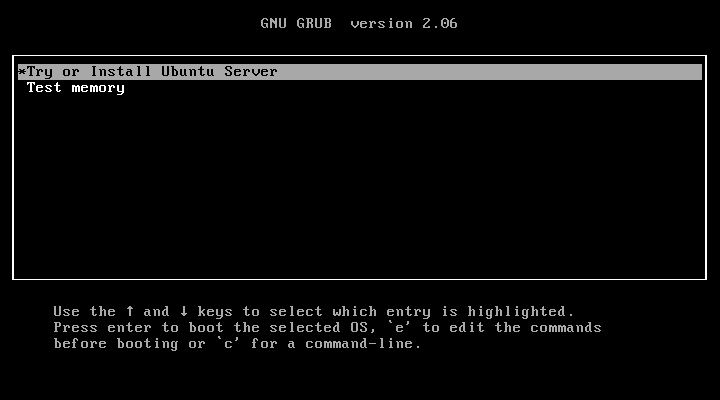
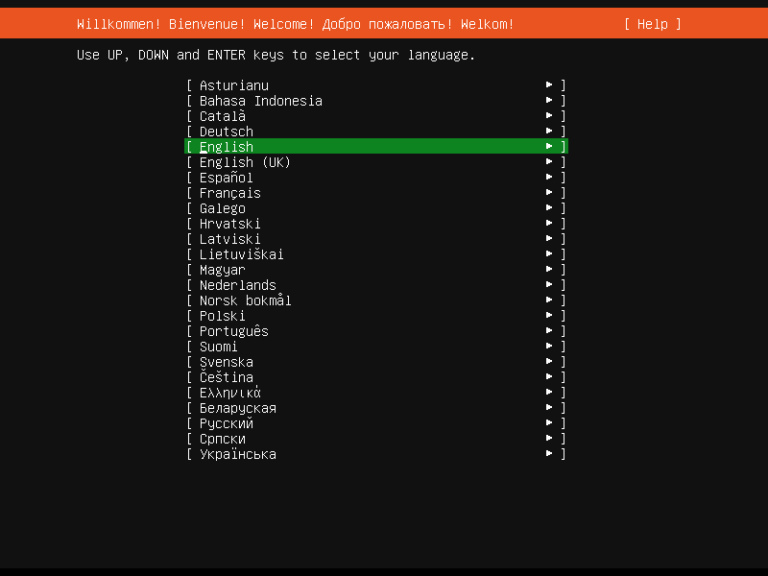
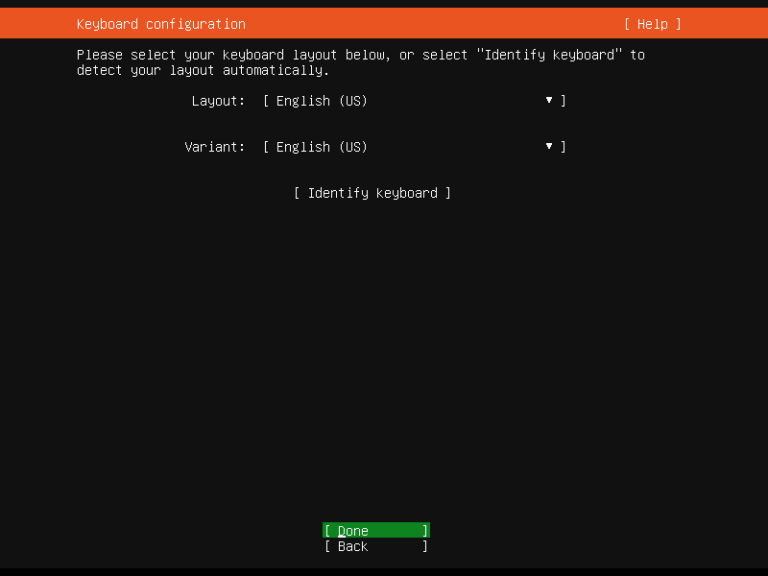
2. Language & Keyboard: Choose your language and keyboard layout.
3. Installation Type: In this step, you will be prompted to choose the base for installation. There are two options:
- Ubuntu Server – It will have all the software which are required to run and manage Ubuntu server smoothly.
- Ubuntu Server (Minimized) – As the name suggests, it will have minimum runtime footprint in environments where humans are not expected to login.
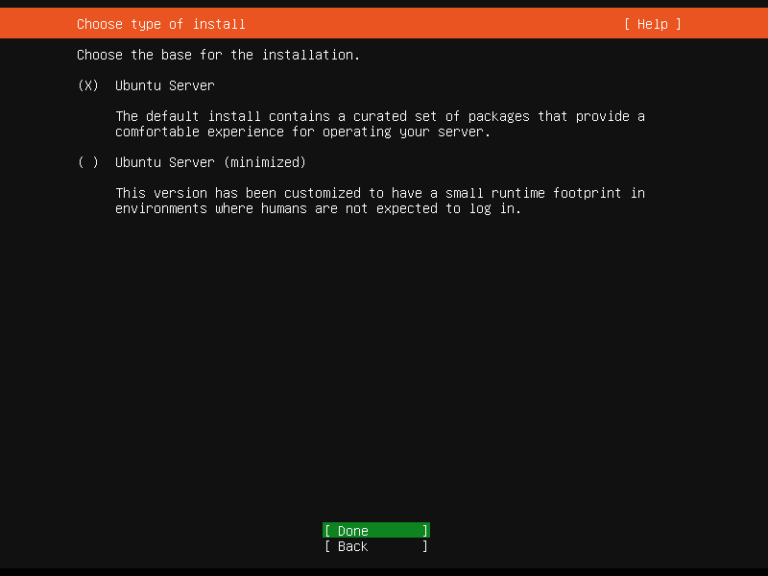
So, select the first option ‘Ubuntu Server’ and then choose Done
4. Network and Ubuntu Archive Mirror Setting: In this step, you will be presented the following screen. If your system connected to modem or may be to a switch, then it will try to get IP address via DHCP. You can also assign IP manually in case DHCP is not enabled in your environment.
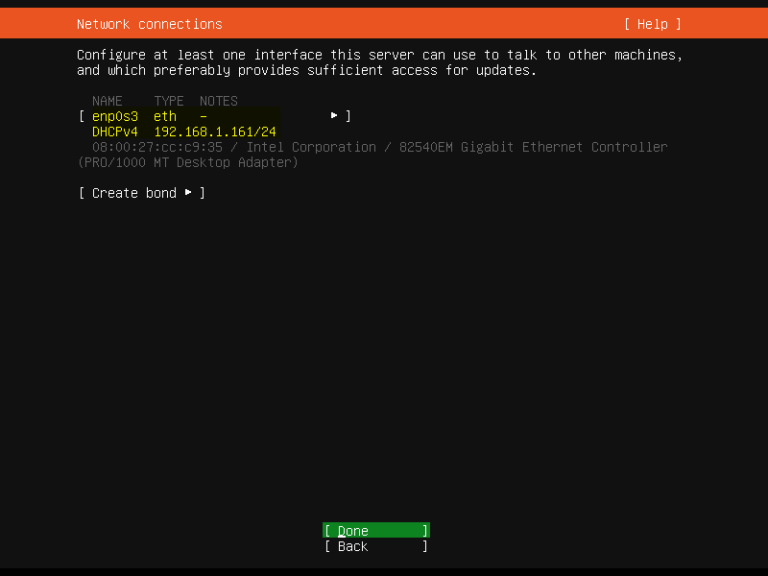
Choose Done and hit enter
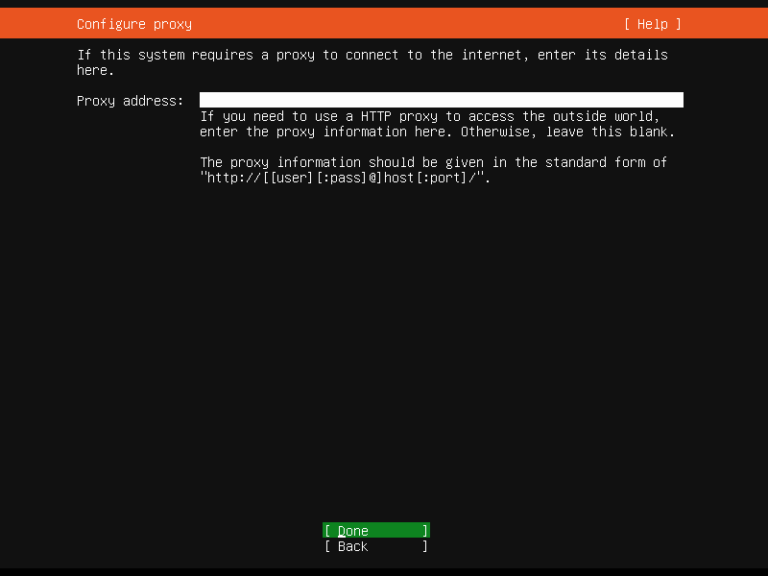
If your system is running behind proxy server then specify proxy IP and port. Skip it, in case there is no proxy in your environment.
Based on current location, installer will automatically configure Ubuntu Archive Mirror.
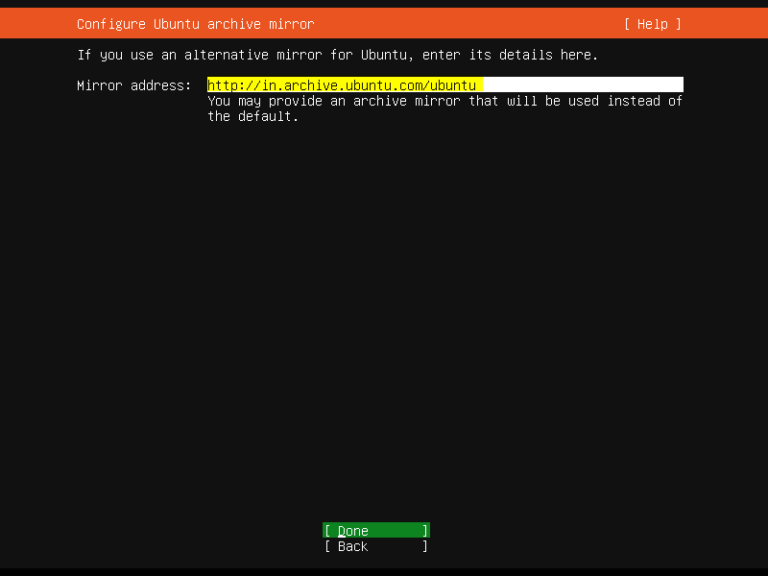
Select Done and press enter.
5. Configure Storage Layout: Here we will decide what would be partition scheme for Ubuntu server based on available disk space. We have two options here:,
- Use an entire disk – In this option, installer will automatically create partition on the entire disk.
- Custom storage layout – As the name suggests, here we can create custom partitions for Ubuntu server.
Note: If you are new Ubuntu then it is recommended to choose first option ‘Use an entire disk’
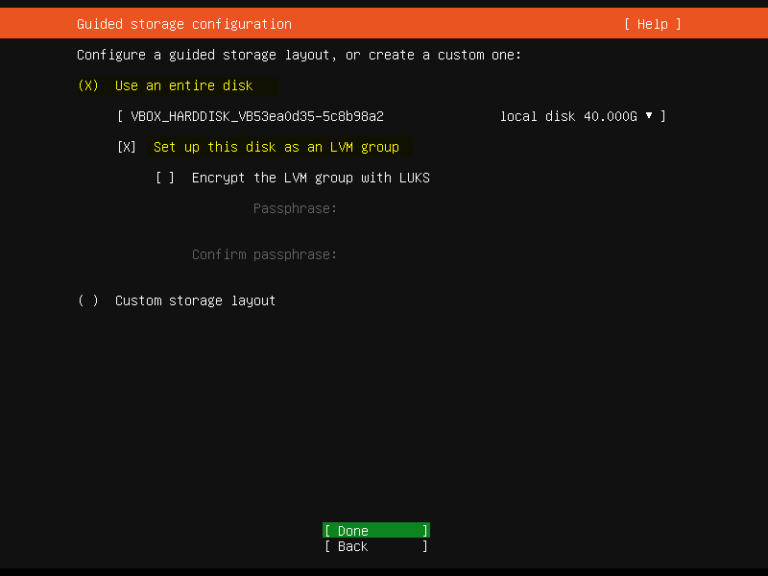
Choose ‘Done’ and hit enter
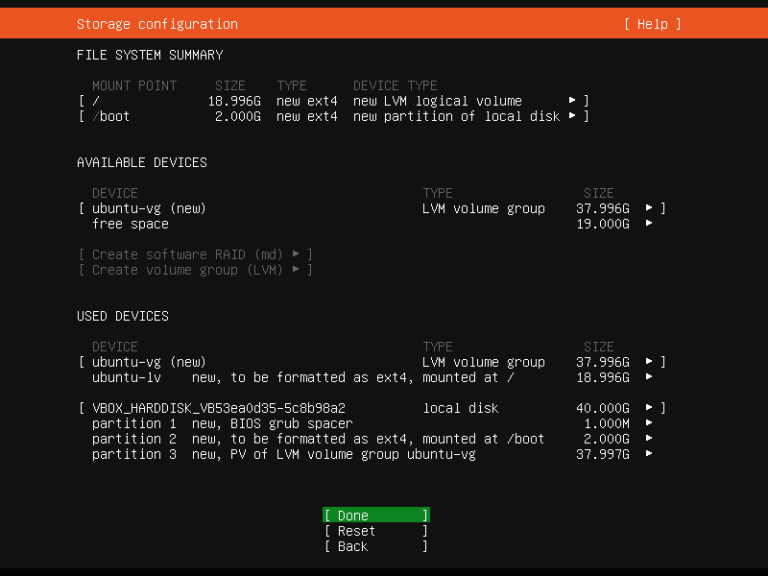
As you can see, installer has created two partitions ( / & /boot) on 40 GB hard disk. We have around 19 GB free space which we can use to create partition as per the requirement after the installation.
Select Done and press enter to proceed with installation
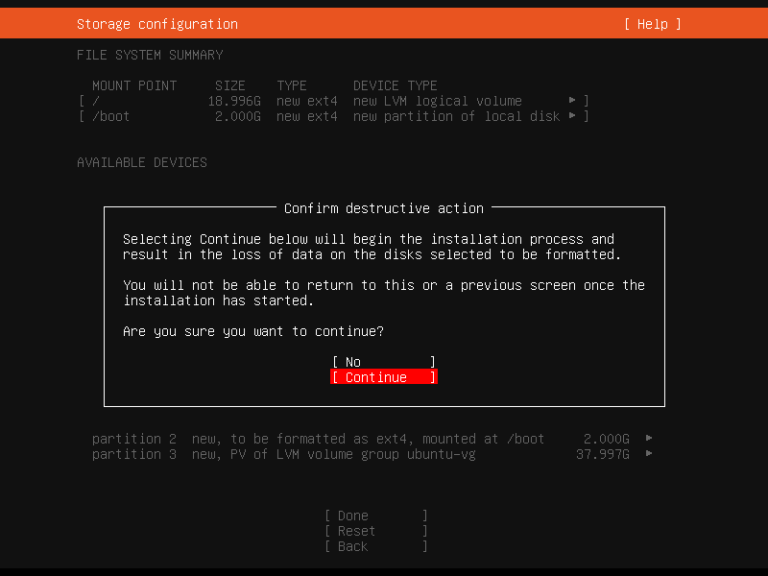
Choose ‘Continue’ to write changes to disk in the following screen.
6. Profile Setup: Mention the username, its password and system’s hostname in profile setup.
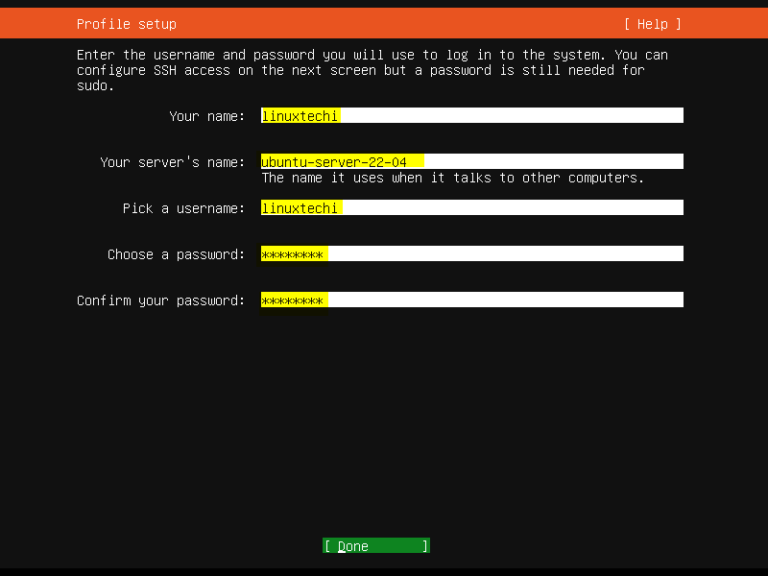
Later we will be using this user for log in to the system. This user will have sudo rights by default.
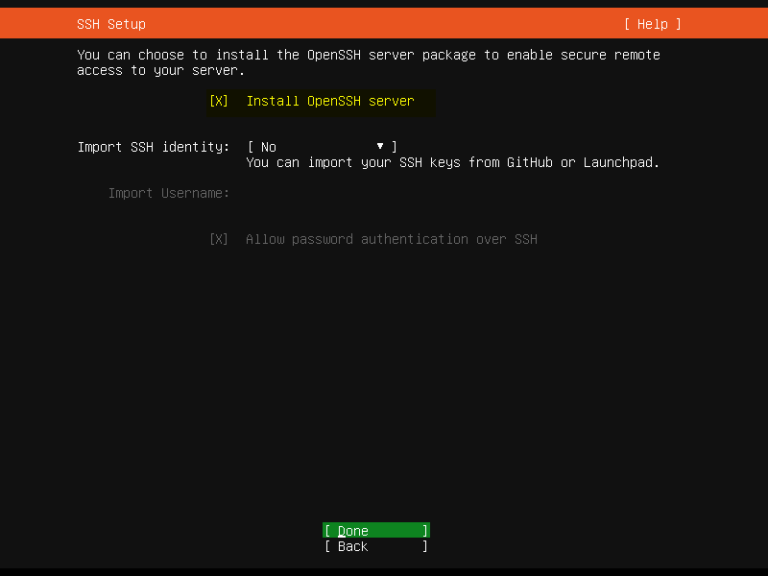
7. Install OpenSSH Server: In the following screen, installer will prompt to install openssh server. So, select ‘Install OpenSSH Server’, Choose Done and hit enter to begin the installation.
(Optional) Choose the server snaps according to the environment that you want to build during the installation. You skip this if you don’t want to configure during installation.
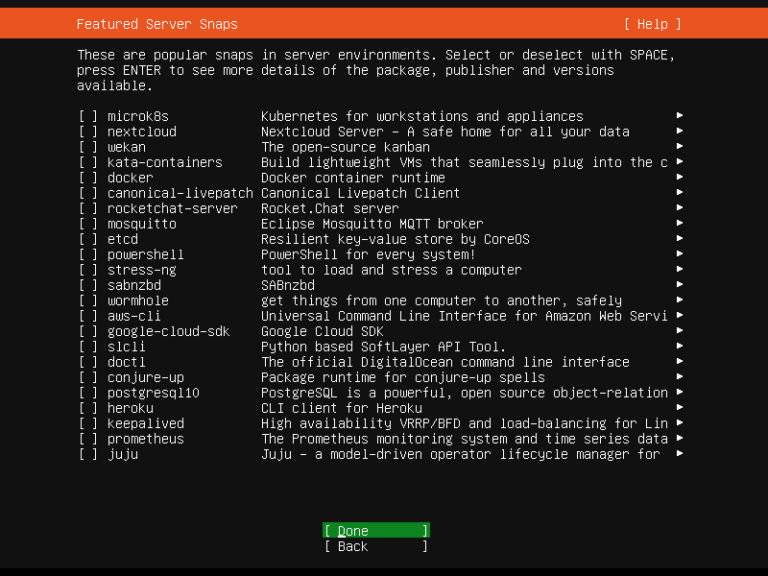
8. Installation Started: Actual installation got started in this step.
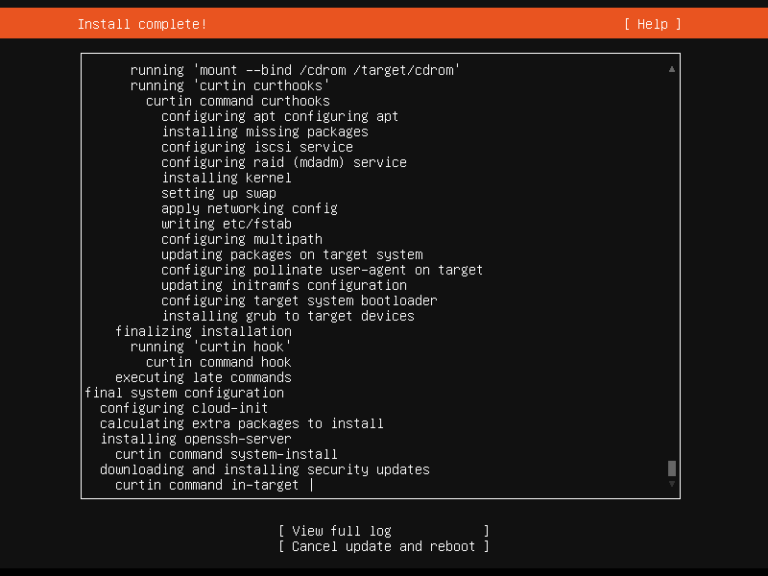
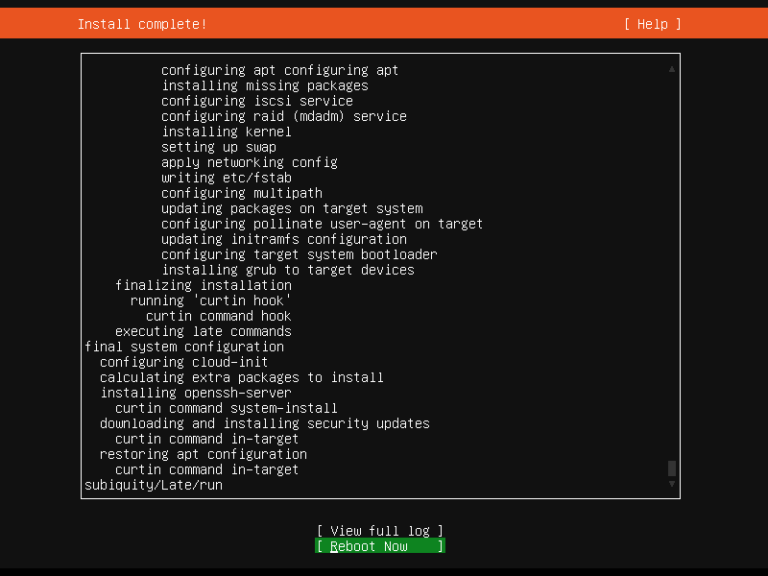
Once the installation is completed the installer will instruct to reboot the system once.
Step 5: Finish Installation
- Restart: When prompted, click “Restart Now” and remove the USB drive when told to.
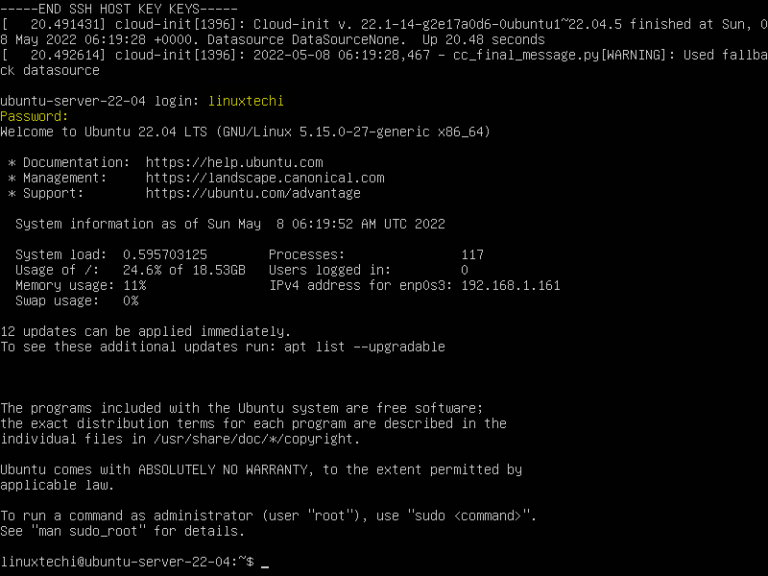
- Login: After rebooting, log in with your new username and password to start using Ubuntu.
This video provides a complete walkthrough of the installation steps:
This video provides a complete walkthrough of the installation process: